

Create an Email Message
When sending an invitation, create a message that is customized for your exact audience and purpose. Your invitation is the perfect opportunity to ensure participants reach your actual survey, so make the first impression count!
Beyond the system default templates, up to 100 customized messages can be created.
To create a message, choose a system-defined template or user-defined message to modify based on your requirements.
Navigate to
Create New Message
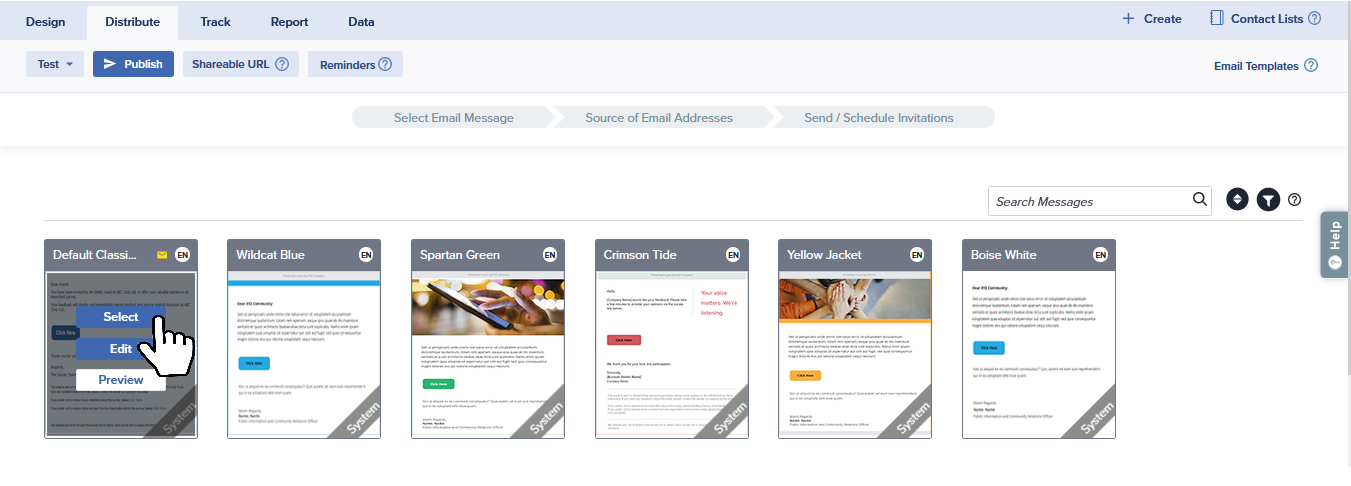
Sogolytics provides several system-defined templates to choose from as your baseline for customization. Here’s how:
- Within Distribute, click on Email Templates.
- In the top left corner of the screen, click on Create New Message.
- Choose any message to start with as your baseline by clicking on Select. You can also click on Quick Look to preview and see details of the template.
- Edit content and modify any additional settings to meet your needs. Learn more about your options under Customize Email Message.
- Click on Finish and Save.
- Enter a unique name and click on Save.
Copy A Template
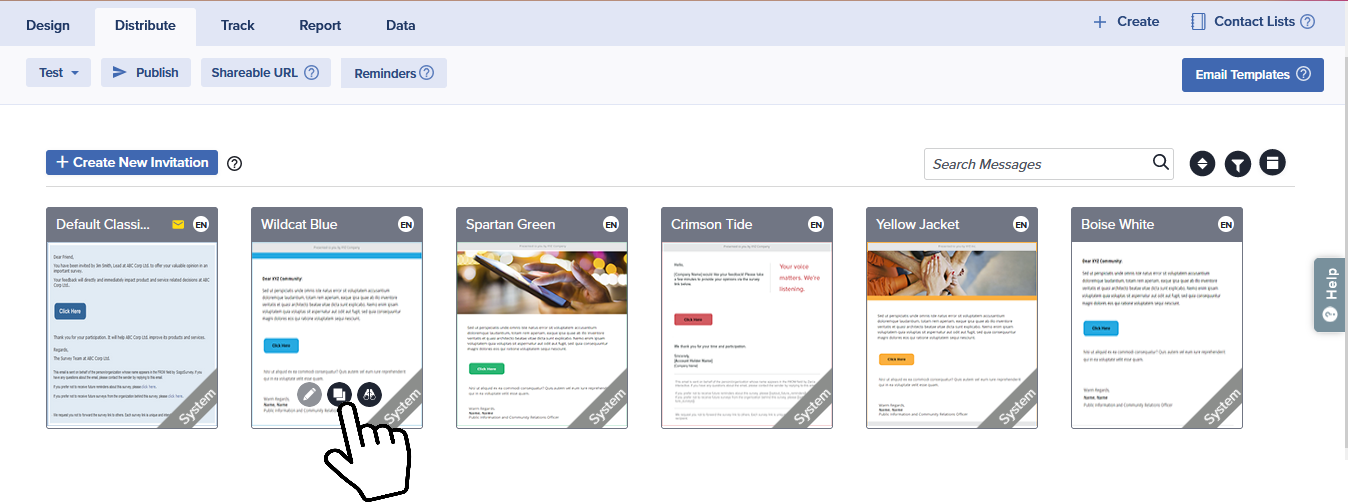
Alternately, rather than clicking on the Create New Message button, you may choose to simply create a copy of your preferred baseline message. This is perfect for when you’re running similar projects across different audiences or time periods, for example. Here’s how:
- Within Distribute, click on Email Templates.
- Hover over any message and click on the Copy icon.
- You’ll see your new copy created.
- Edit content and modify any additional settings to meet your needs. Learn more about your options under Customize Email Message.
- Click on Finish and Save.
- Enter a unique name and click on Save.
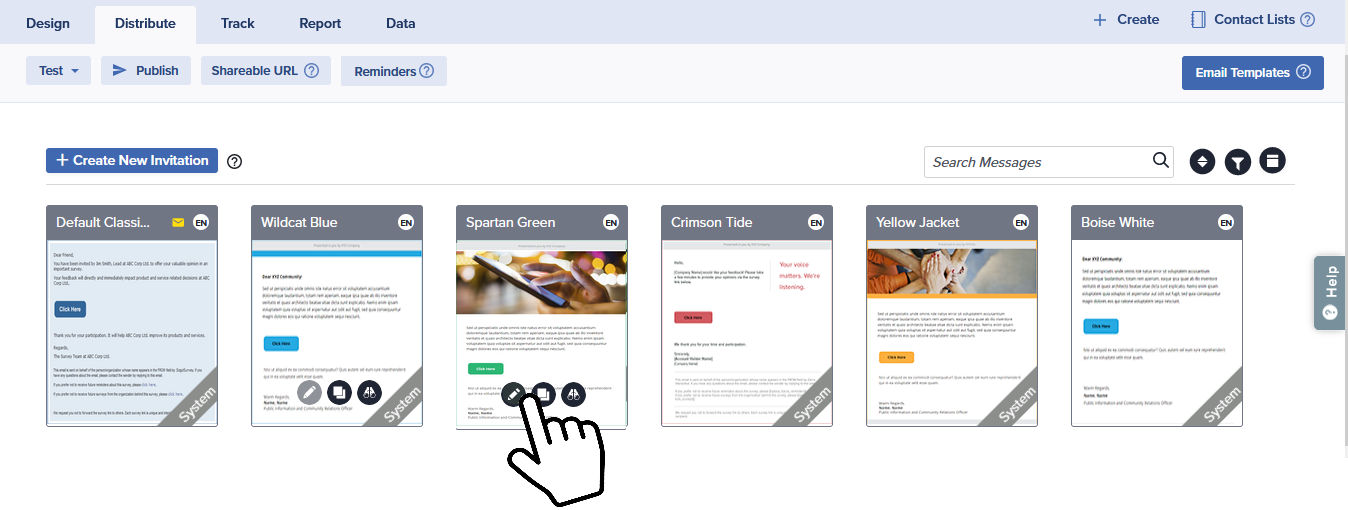
Edit A Custom Template
If you’re returning to a saved customized template, it’s easy to make a few updates to finalize your invitation. Here’s how:
- Within Distribute, click on Email Templates.
- Hover over any customized template and click on the Edit icon.
- Make the required changes to the content and any additional settings to meet your needs. Learn more about your options under Customize Email Message.
- Edit content and modify any additional settings to meet your needs. Learn more about your options under Customize Email Message.
- Click on Finish and Save.
- Choose whether to replace the existing template or save this as a new one.6 Provide a new name as needed, then Save.
Good to Know
Plain Text email template
- A message created with the Plain Text email template will contain no HTML.
- This only participation method available for this template is the survey link.
- This template is especially useful if you are sending to participants whose email may prevent them from receiving or reading HTML content.
ADA Compliant email template
- This template is designed to be fully accessible in compliance with the Americans with Disabilities Act..
- All Messages created with this template are marked as ADA.
- Colors in this template cannot be changed.
